Holiday Baking Month: White Chocolate (Birch) Yule Log
Prep: ~15 minutes or so Bake: 30 Minutes Cool: 60 minutes minimum Decoration: 10 minutes
All my life I’ve wanted to try a yule log. I’ve been enamored with them but never ate nor baked one. I know they just look like giant ho hos but I really wanted to try it. I finally made an opportunity to do this. A good friend of mine is Pepper who is a practicing Pagan was kind enough to get us information on the significance and history of Yule Logs to join with this. To that: Yule Logs are burned on solstice. They must be gotten free of a money exchange, either from your own trees or sharing with a neighbor or friend. They are cut and brought into the house and entered into the hearth. It is to be burned. The type of tree used has different messages for desires for the new year. The log must burn all night, and the remainder will be saved all year under the bed to protect the house. It is used to start the fire on the next log. I choose white chocolate to represent a Birch Tree. This symbolizes new beginnings. The end of a decade and changes on the horizon. Let’s go!
Ingredients
White Chocolate Sponge Cake:
4 eggs
3/4 cup sugar
1 tsp vanilla extract
2/3 cup flour
8 oz melted white chocolate baking bar (or any other type of chocolate or flavoring you want)
1 1/4 tsp baking powder
1/3 cup sour cream
1/4 cup melted butter
2 tbls milk
2 tbls powdered sugar
Filling
2 cans whipped cream cheese frosting (or any flavor you want)
Chocolate Ganache Frosting
6 oz white chocolate broken up not melted
1/2 cup heavy cream
Prep
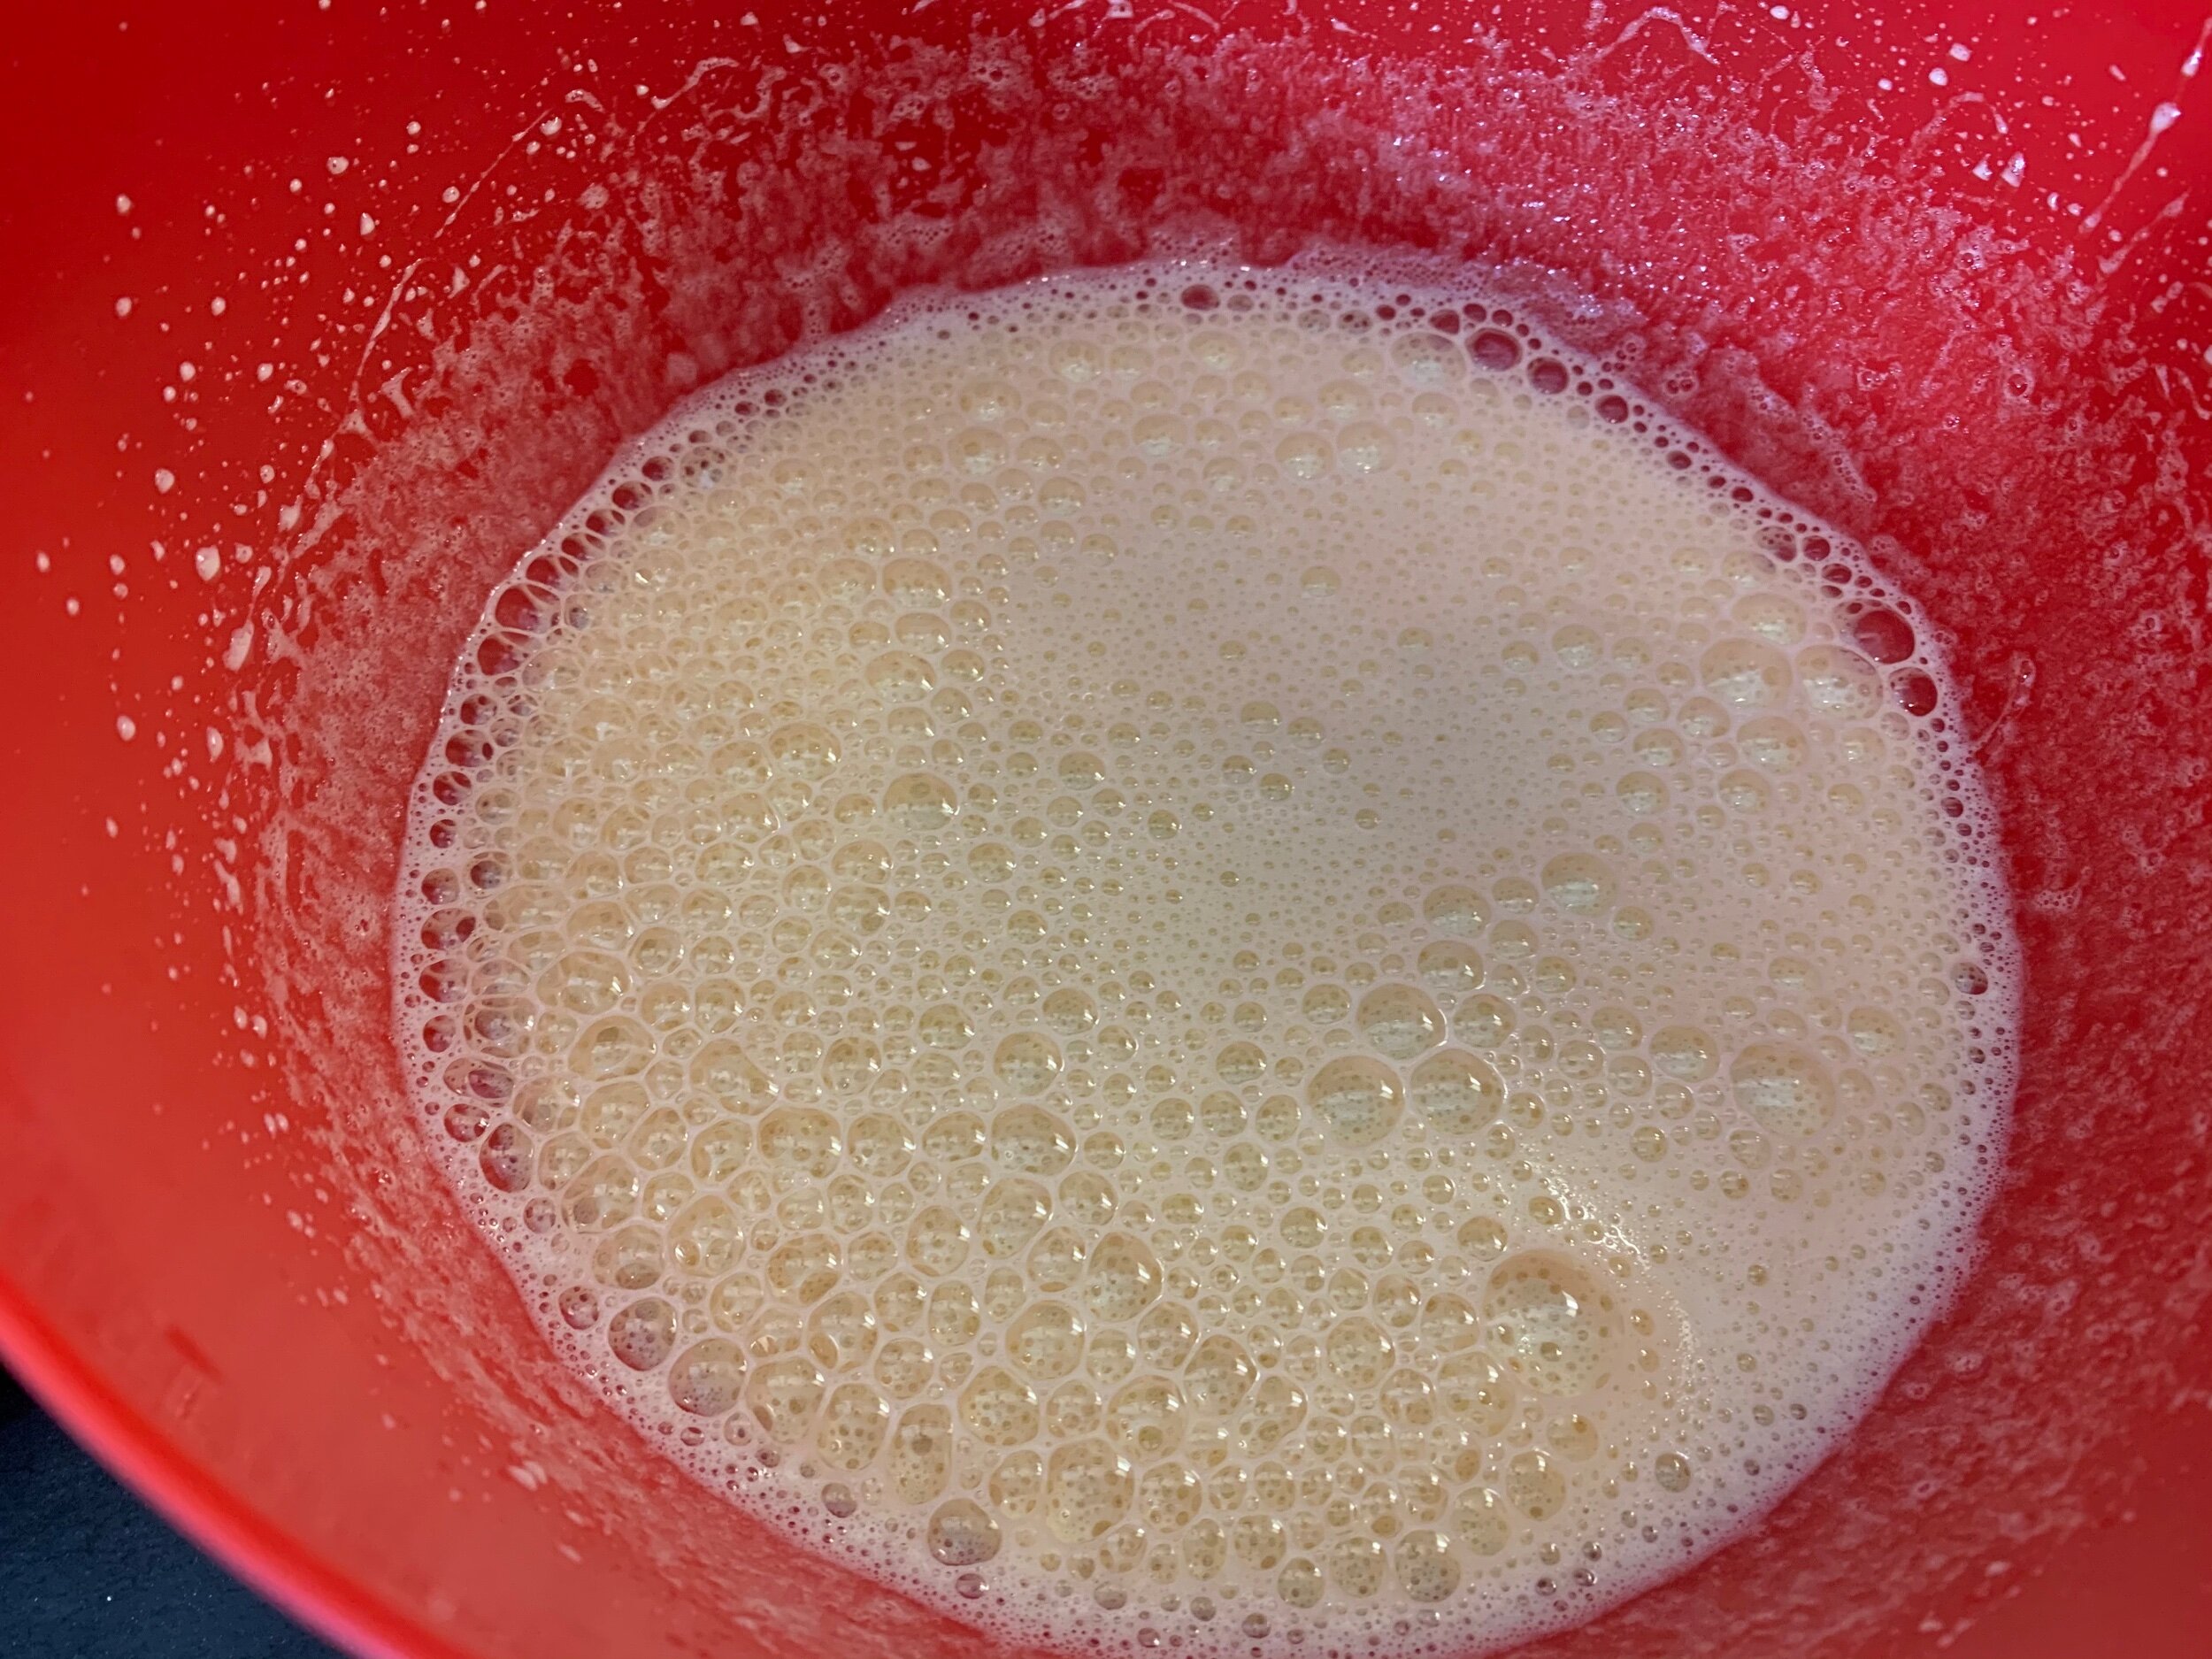
You really want it full of bubbles and airy to make sure it’ll be light

Whisk this well so everything is mixed in

Get it poured out and spread to the edges
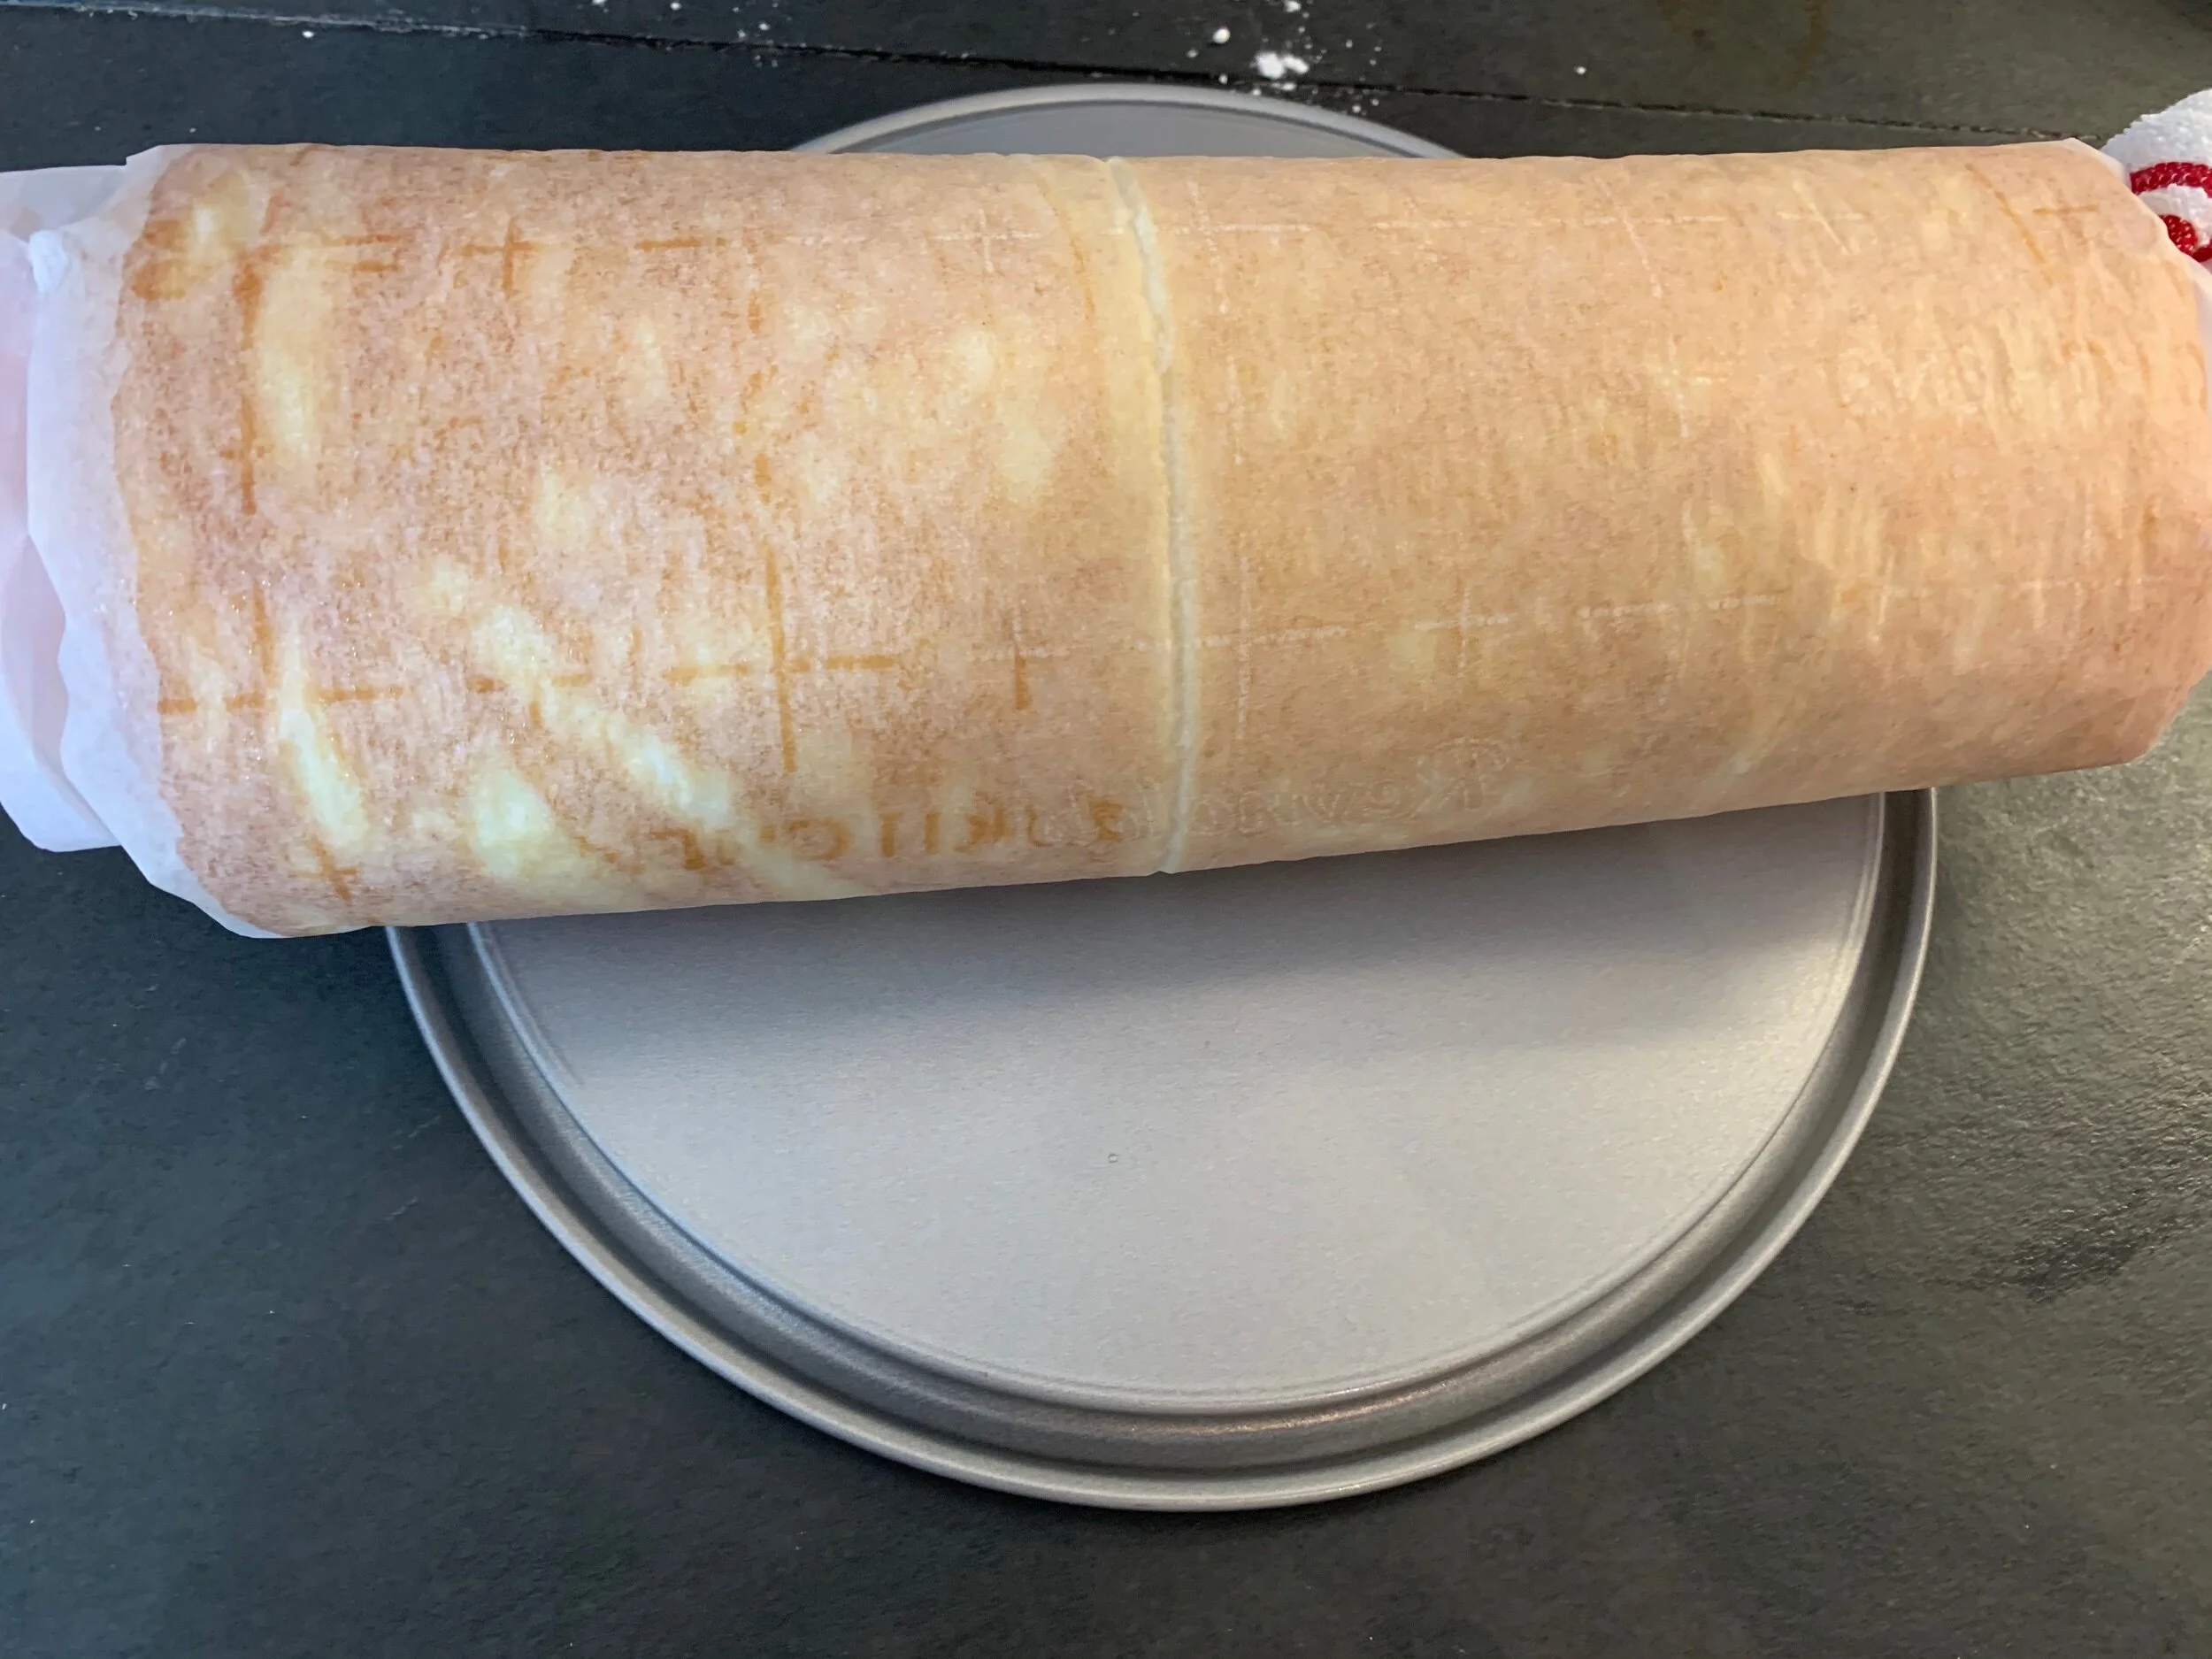
Keep the parchment paper on so you can use it later to roll again

The towel helps keep the space

Don’t worry about a crack since you can roll it into the center to mask it
Preheat your oven to 325 F
Line a 15 X 10 baking tray with parchment paper and grease the sides lightly. It’s best to have a lip in the parchment paper that is extra for grabbing later
Add the eggs, sugar, vanilla and salt in a large bowl and whip (hopefully with a machine) until it’s well blended, pale yellow and gaining a slightly thicker texture. Unlike before when we did this to make it hold it’s shape, this just needs to be well mixed and will still be mostly liquid. It will grow in size and have lots of air bubbles
Add the flour, melted chocolate and baking powder and fold in by hand. You want to be gentle to not lose the air you created. This will start to thicken it a bit more
In another bowl, add the sour cream, melted butter and milk and whisk together. Get all of it mixed well then fold the mixture into the batter
Pour this into your baking sheet and use a spatula or spoon to smooth it out to the edges. Make it a big old sheet of batter
Bake for 22-25 minutes. You want the cake set but still springy. If you go too long it’ll dry out and you don’t want that
Pull out of the oven and while still hot, add powdered sugar all over it
Take a clean, CLEAN kitchen town that covers the sheet and lay it on top
Grab that bit of parchment paper I said to leave out and use it to roll the cake short end first like a HOHO and leave the parchment still on. The towel should be rolled inside and parchment paper outside. Be as gentle as possible to not break it, also try to keep the sides all even
Let this cool, completely. Completely, all the way through. Remember the center will stay warmer than the outside
When cool, unroll slowly to not crack it. It’s alright if it does though, mine cracked through so I used that side as the center
Remove the towel and be super generous with the frosting. Cover this thing and you want it to be a bit thick
When done frosting, use the parchment paper to roll back up, but remove the parchment as you go. While rolling, let it off the paper as you pull
Set aside while making the ganache
Ganache

Get things nice and fluffy
Add the heavy cream to a pot and simmer it. You don’t want it to boil, but the small little bubbles are good. You can start this after finishing icing to time it
Break up the chocolate and add to a bowl
Pour the simmered cream over the chocolate and let it sit for a few minutes to really warm the chocolate
Whisk this together fully. You want it to be smooth and it will likely be still creamy and liquid
Let this sit for a few minutes so help it firm up
Whip together (ideally with a machine) until it firms up and almost is like a whipped cream. It’s important that you don’t stop until it’s firm and keeping it’s shape, not still a creamy liquid
Use a small spatula and frost the cake with it
Take the backside of a spoon and press gently down and up to create a bark-like texture
Shave some dark chocolate and add to the top in a dusting. You can also add more powdered sugar to make like a snow dusting
Afterthoughts
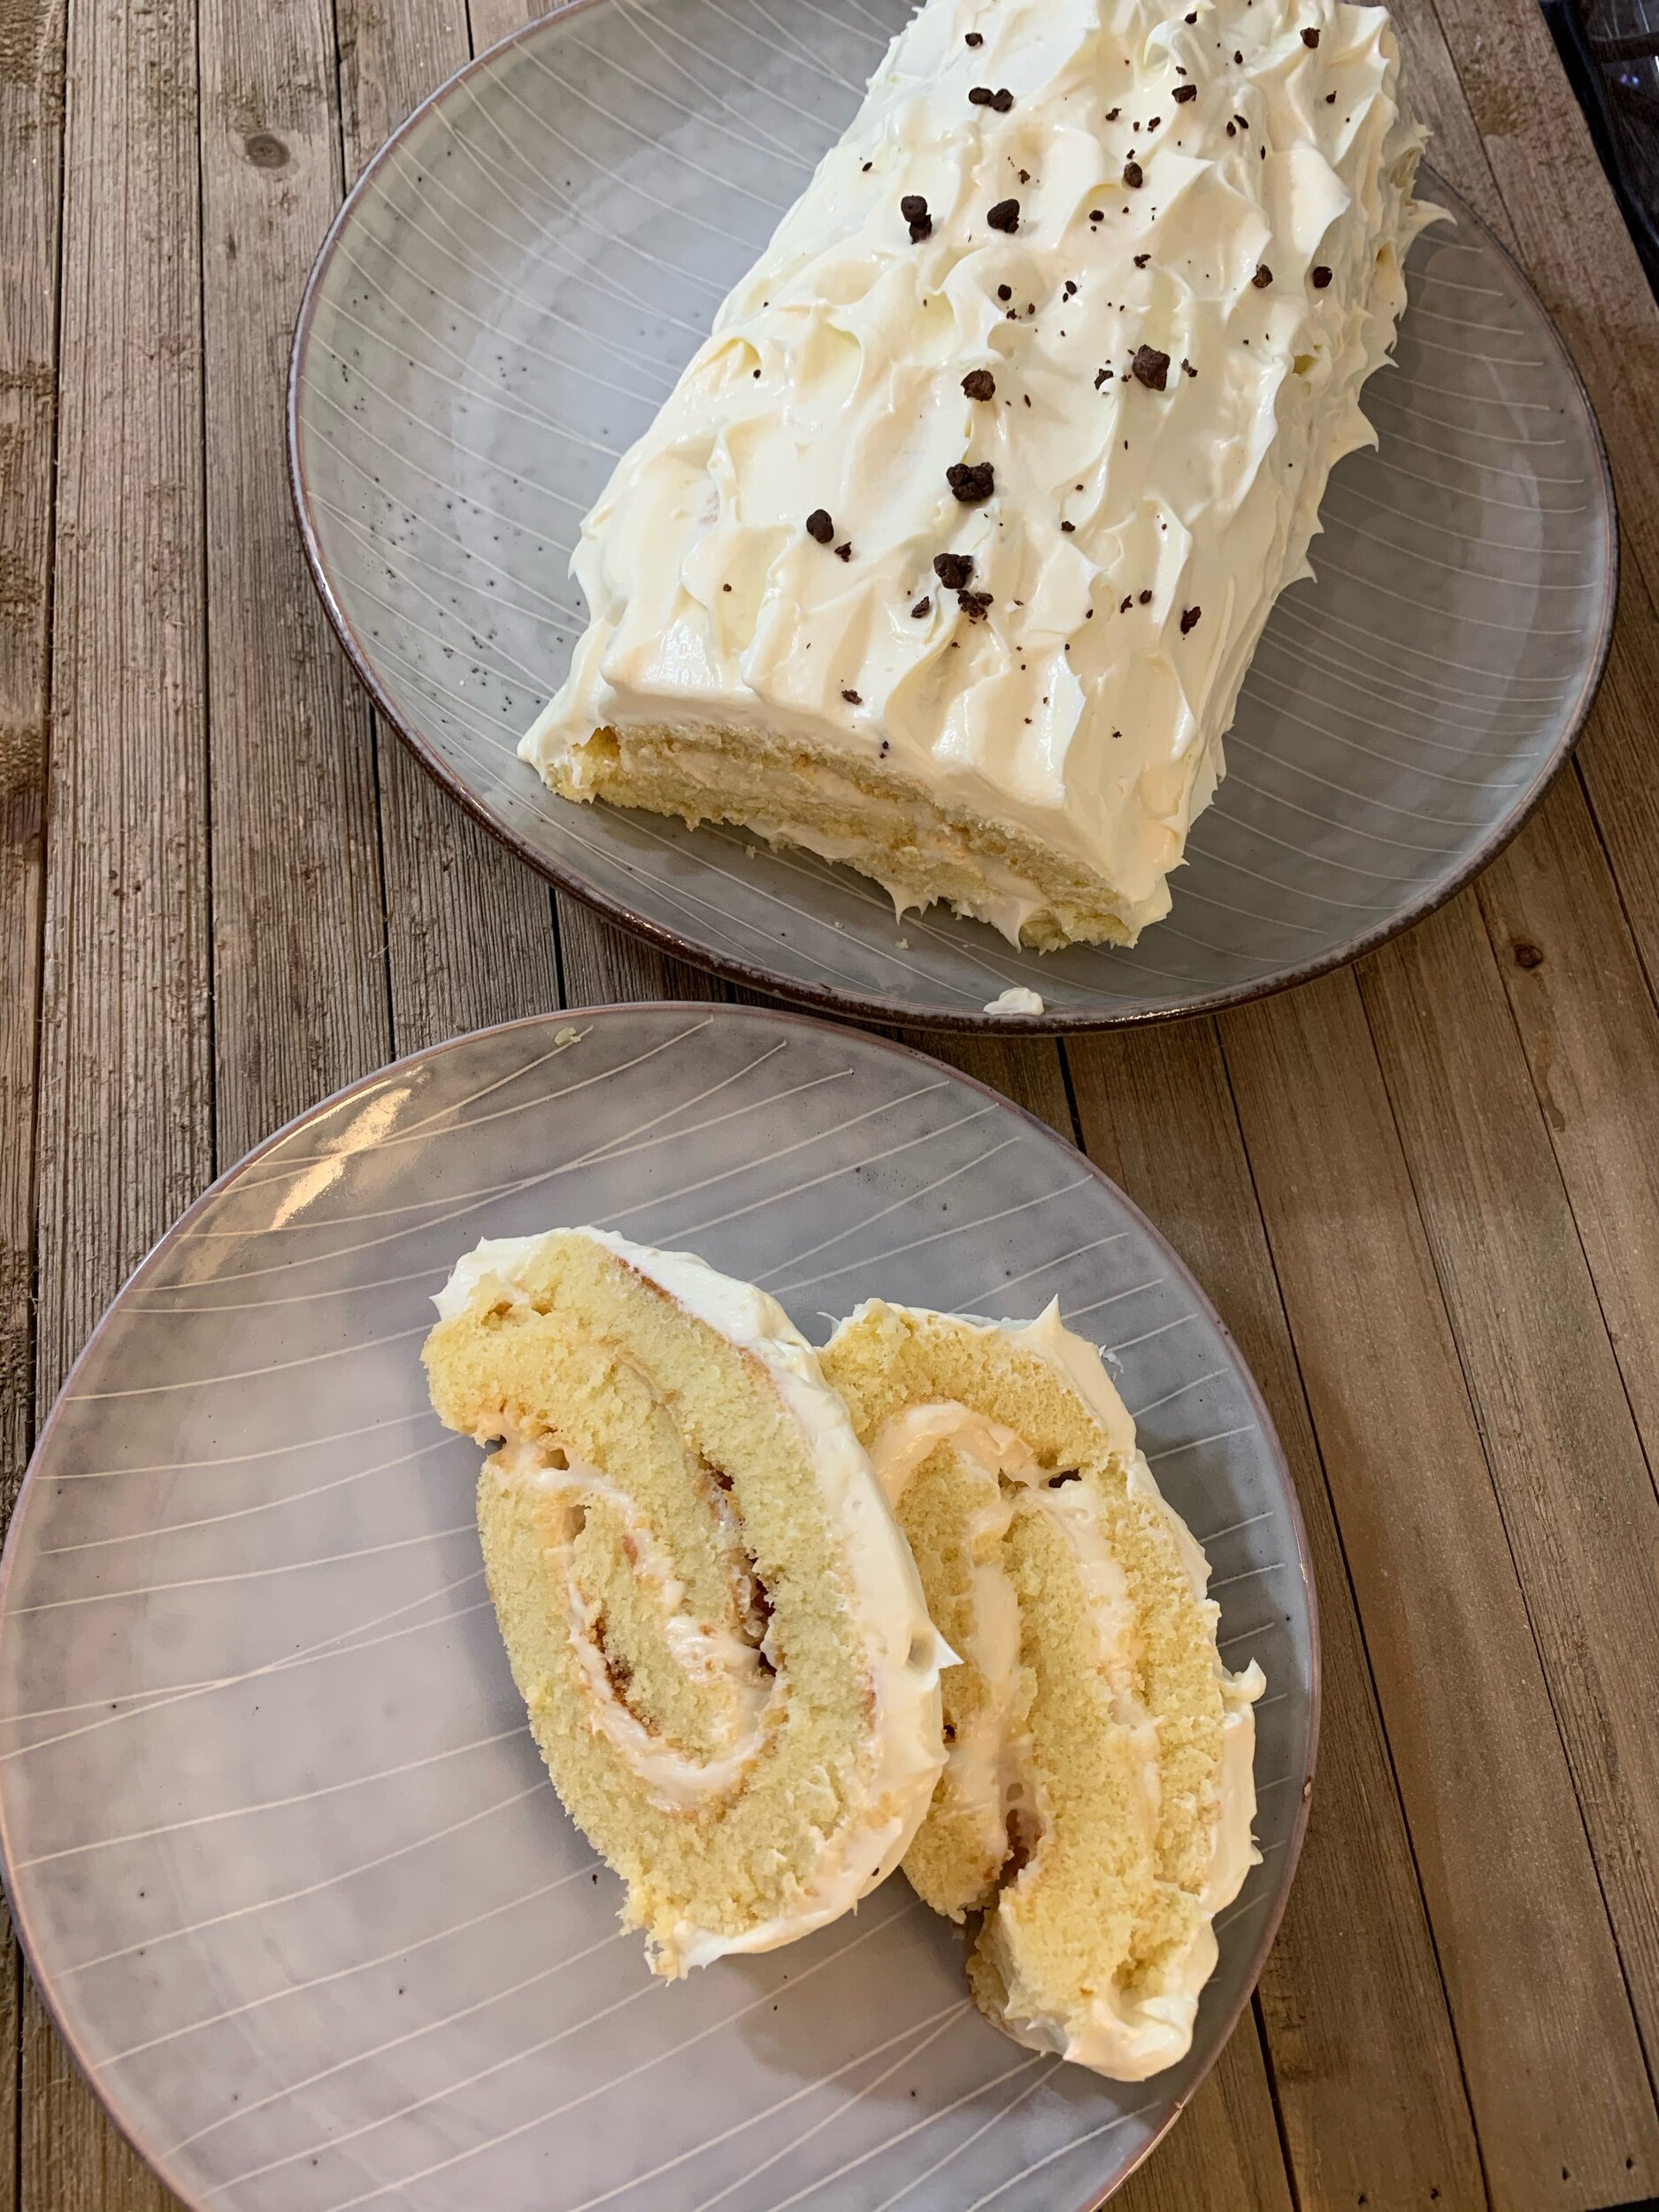
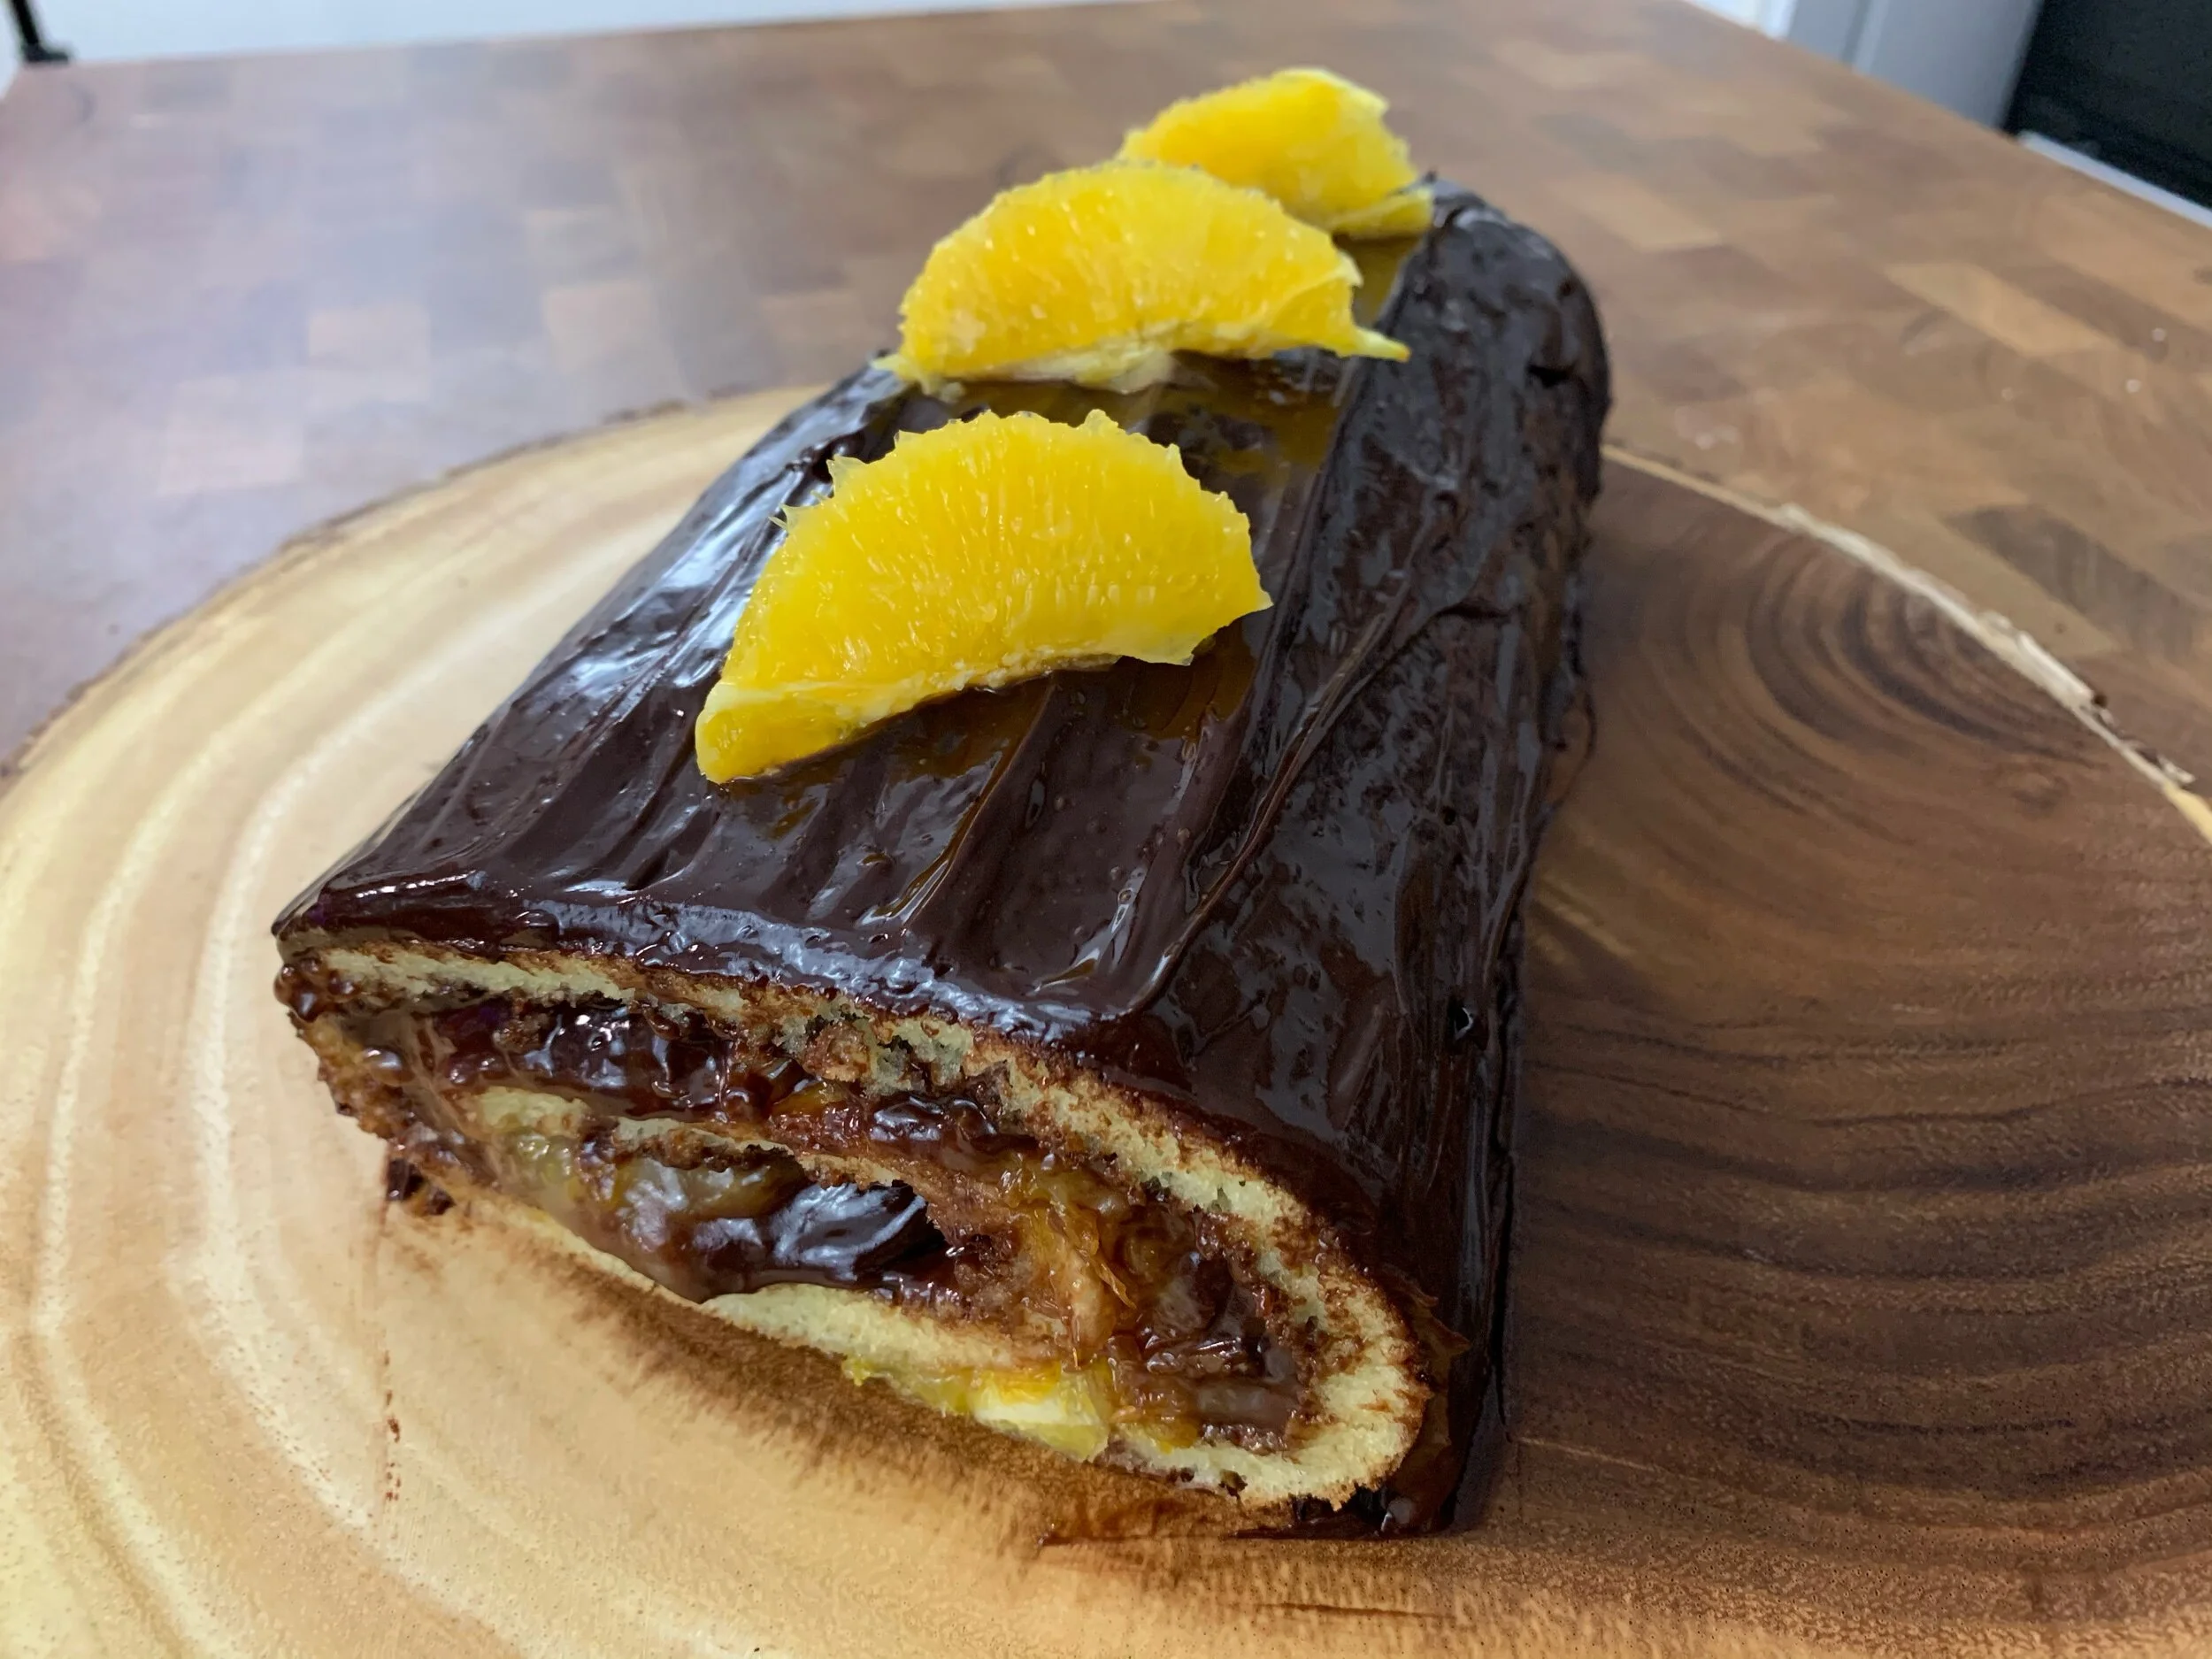
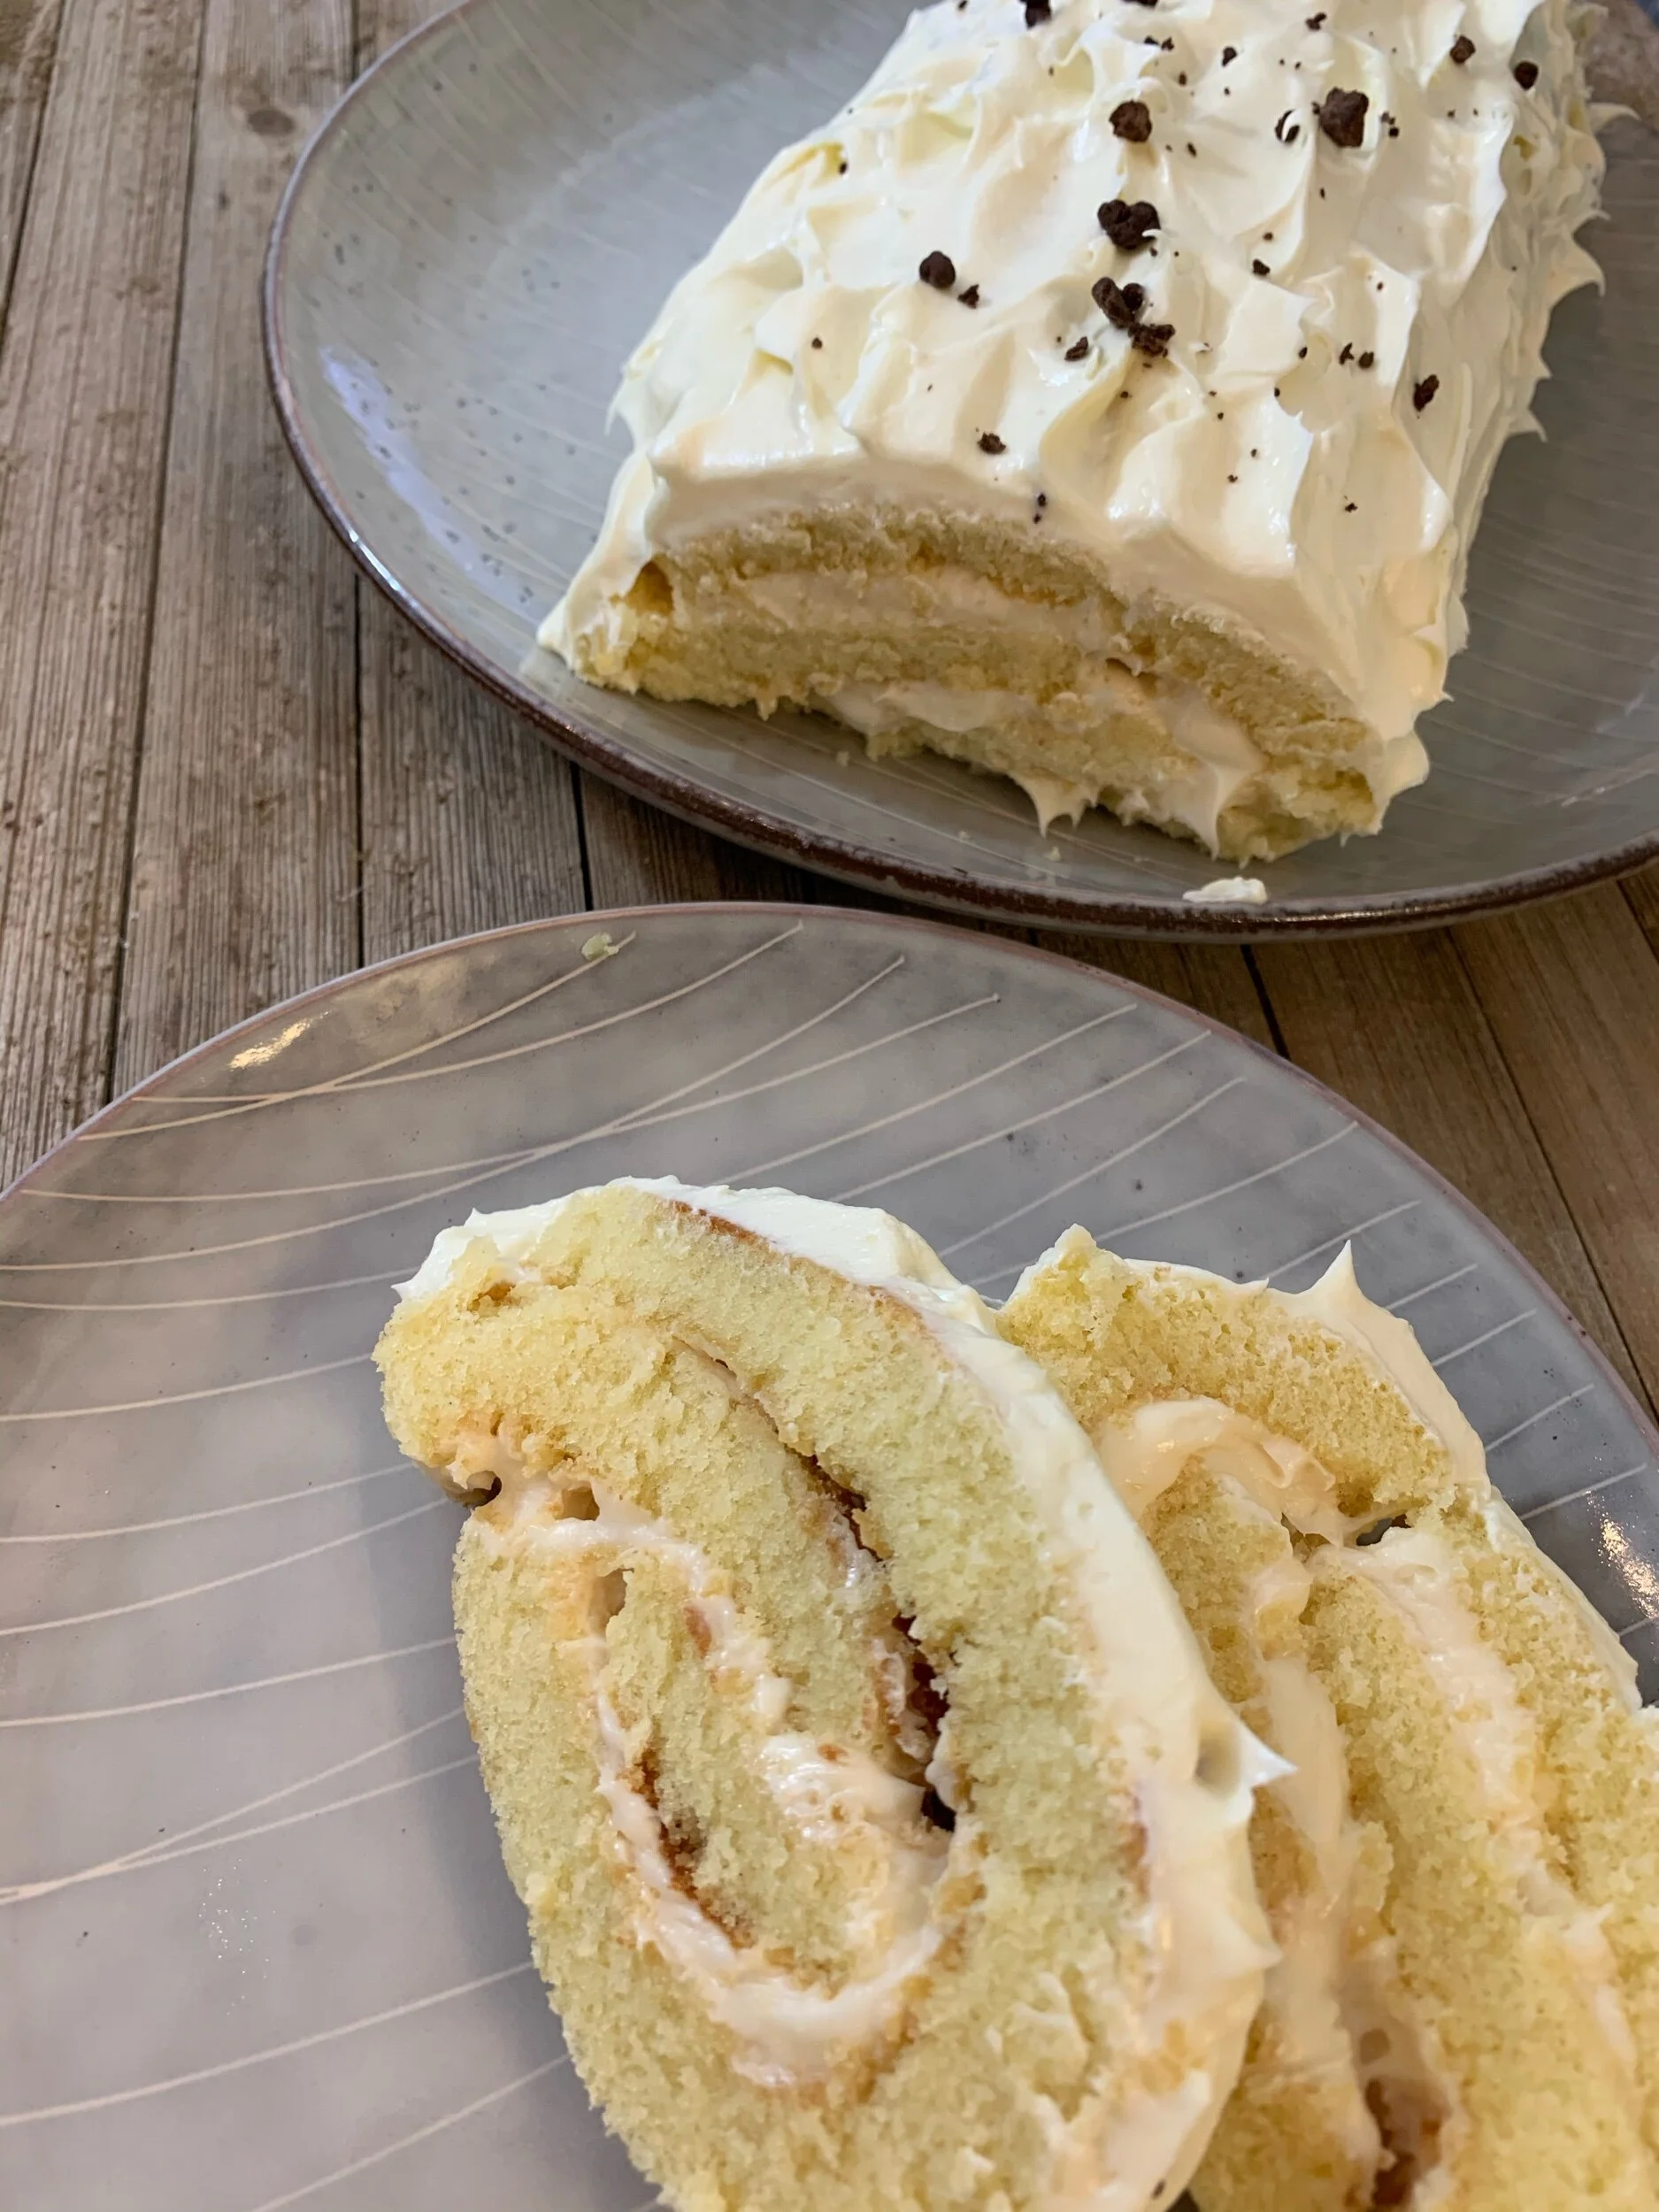
A tasty, moist cake
This cake was amazing. It was soft and moist from head to toe. The roll went really well! even though I didn’t use enough icing in the center to keep it’s shape. The sponge was phenomenal and the icing was great. I’m super proud of the ganache after I messed up my last attempt. It was soft and fluffy and made a great outer layer. A delicious dessert that would compliment a celebration that has a great piece of history and culture with it. I’m happy to have learned extra about Pagans and excited to have a new recipe to add to my skills.