Garlic Knots, a Buttery Companion
Prep: 20 minutes + Proving if not using Instant Yeast Bake: 20 minutes
A close friend of mine is nuts for garlic knots and has us go to this place in Indianapolis too many times just so he can have theirs. While this recipe doesn’t rival theirs in terms of size or amount of butter slathered on, this was still a fantastic knot that went amazing with my pasta. Three notes for this recipe which I found from the amazing Baker By Nature: This is supposed to use bread flour. I did not have some and they noted all purpose didn’t work correctly so I tried this with cake flour. I liked the results but it still wasn’t what it could have been had I had bread flour. I also used a half amount of everything to make a smaller batch. Lastly, I used instant yeast to skip the proving steps and because it’s all I had. I’ll add the timers for dry active yeast but I did not do any proving. Let’s get to it.
Ingredients
3 3/4 cups bread flour (I used cake flour)
1 1/2 tsp granulated sugar
1 envelope active dry yeast (if you use instant, use 25% less)
2 tsp salt
1 1/2 cup warm water (should be temped between 110 and 115 F)
2 tbls olive oil (if going to prove with active yeast, you’ll want 2 tsp more to add to bowl with prove)
1 stick butter
6 cloves minced garlic
Parmesan cheese as desired
Prep

Don’t add the water or oil until ready to knead

It will flop around as a unit when it’s ready
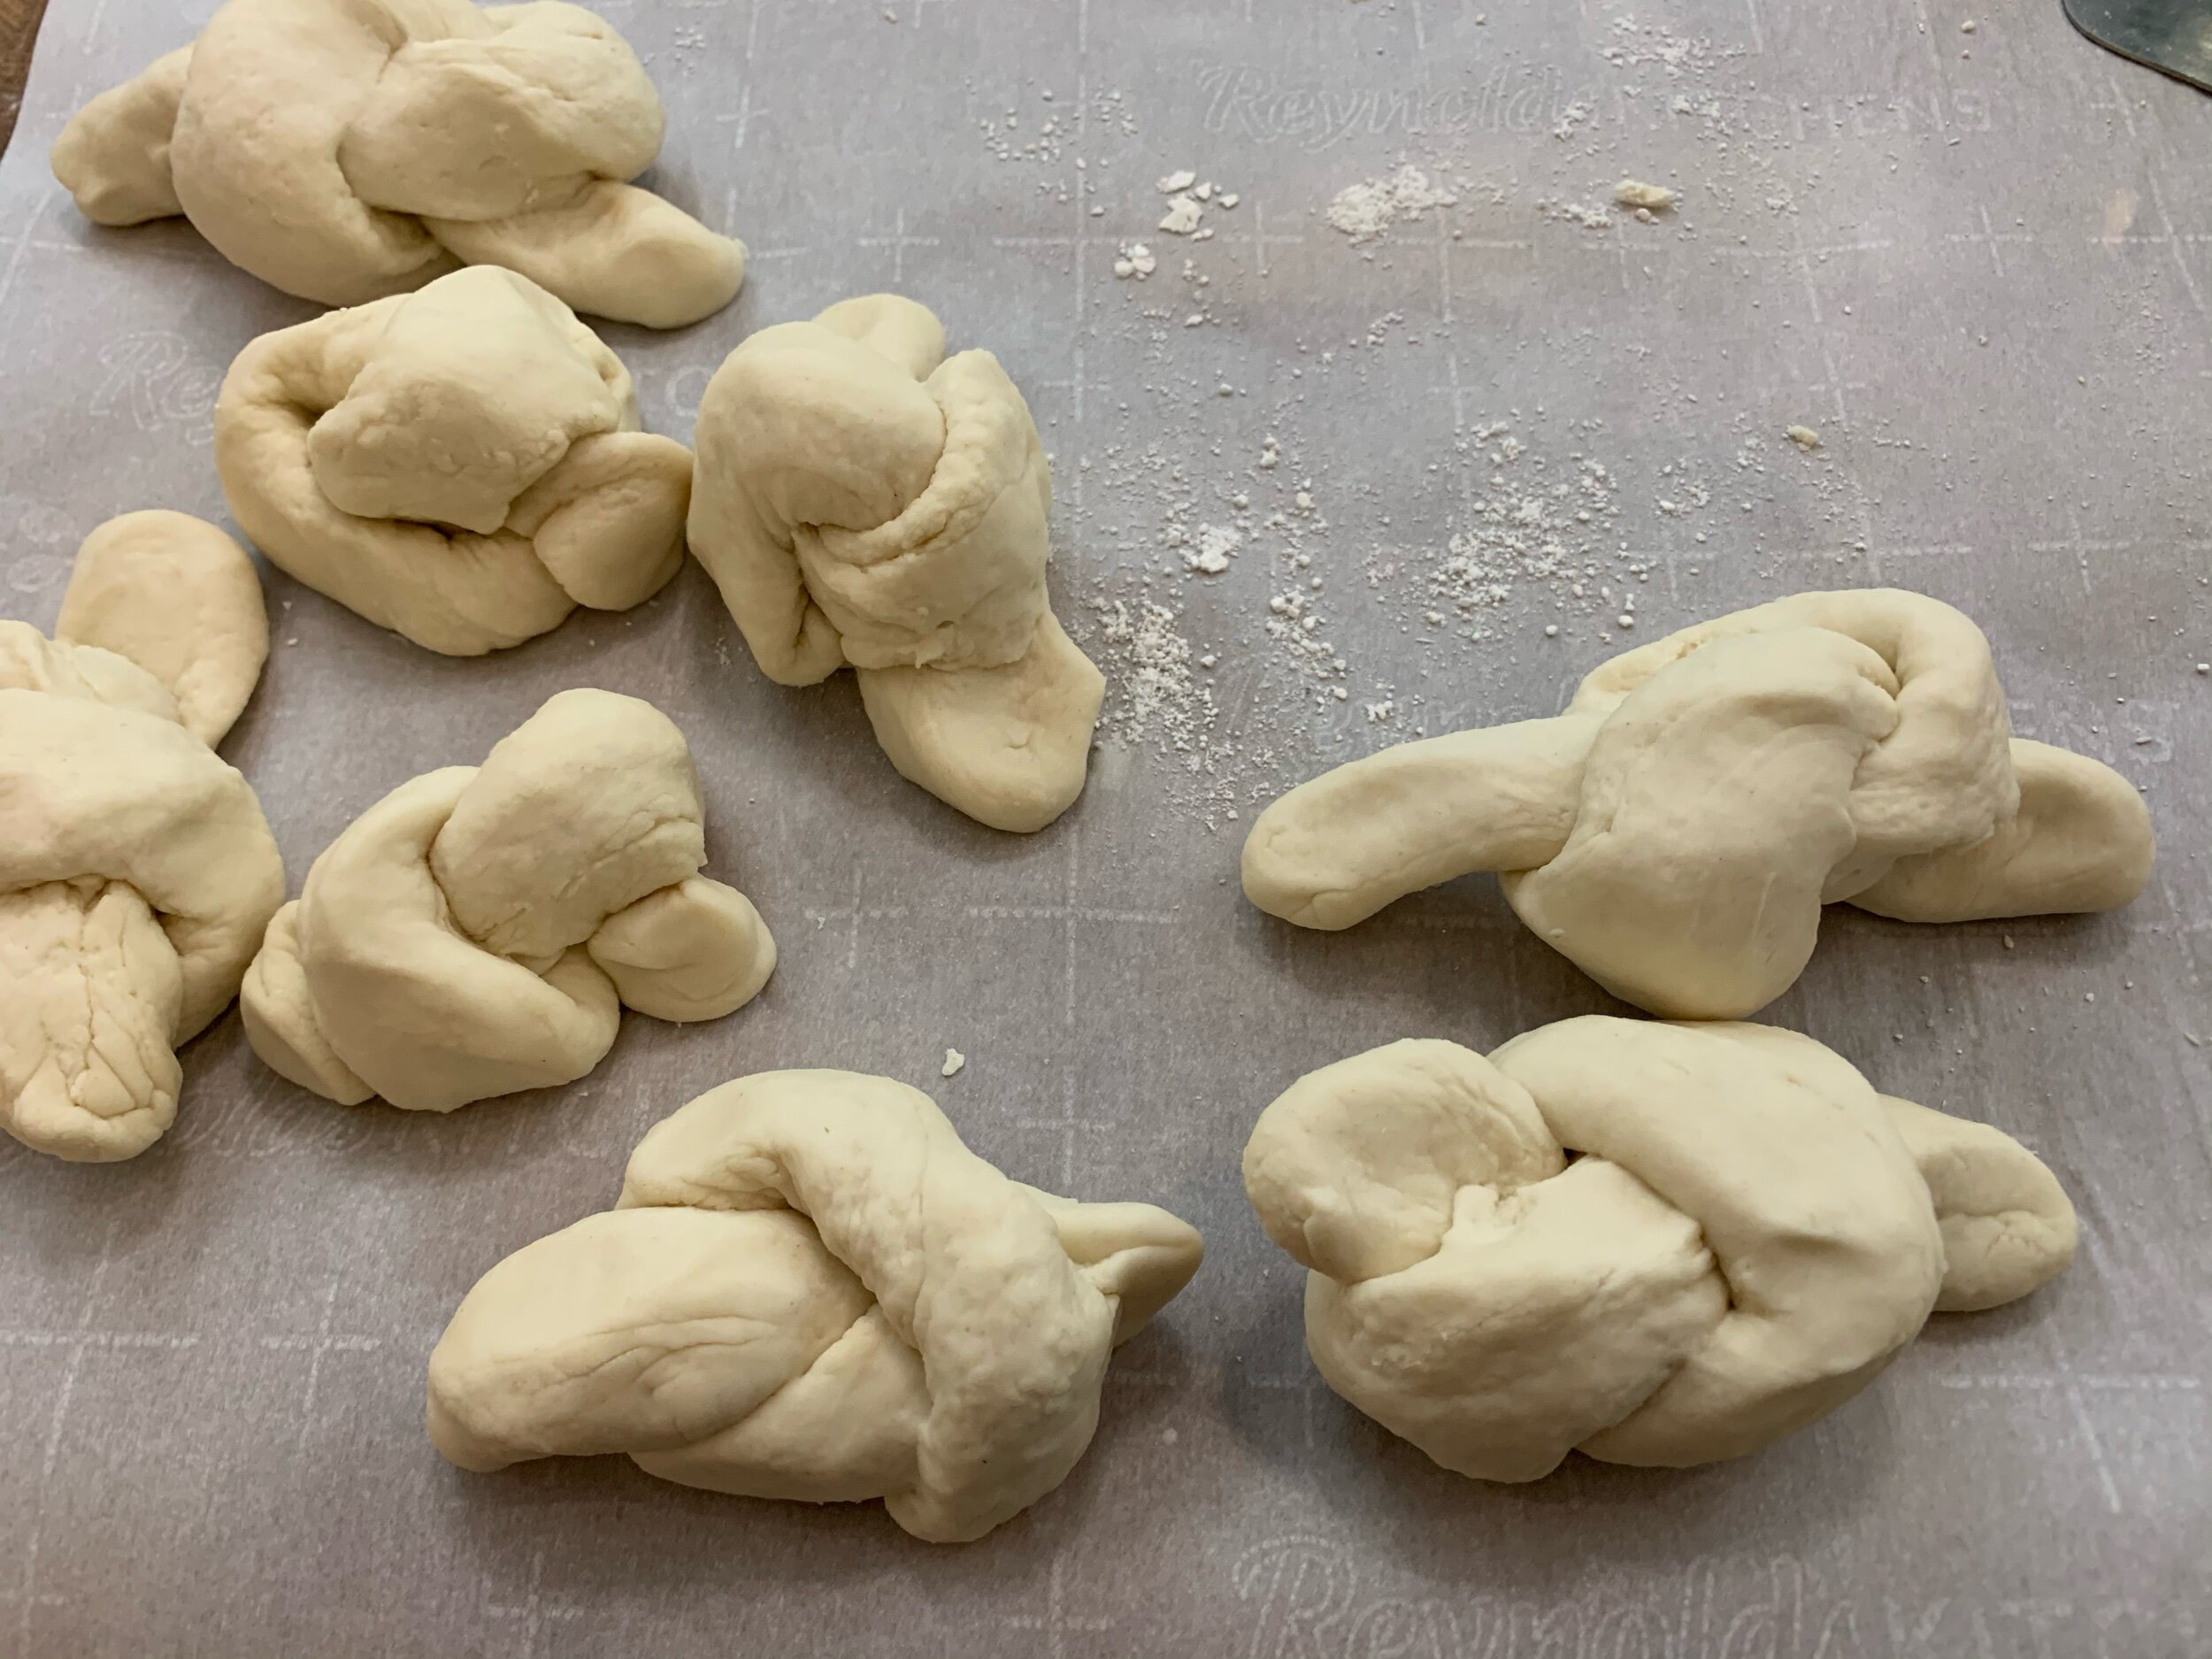
Tying was weird but fun
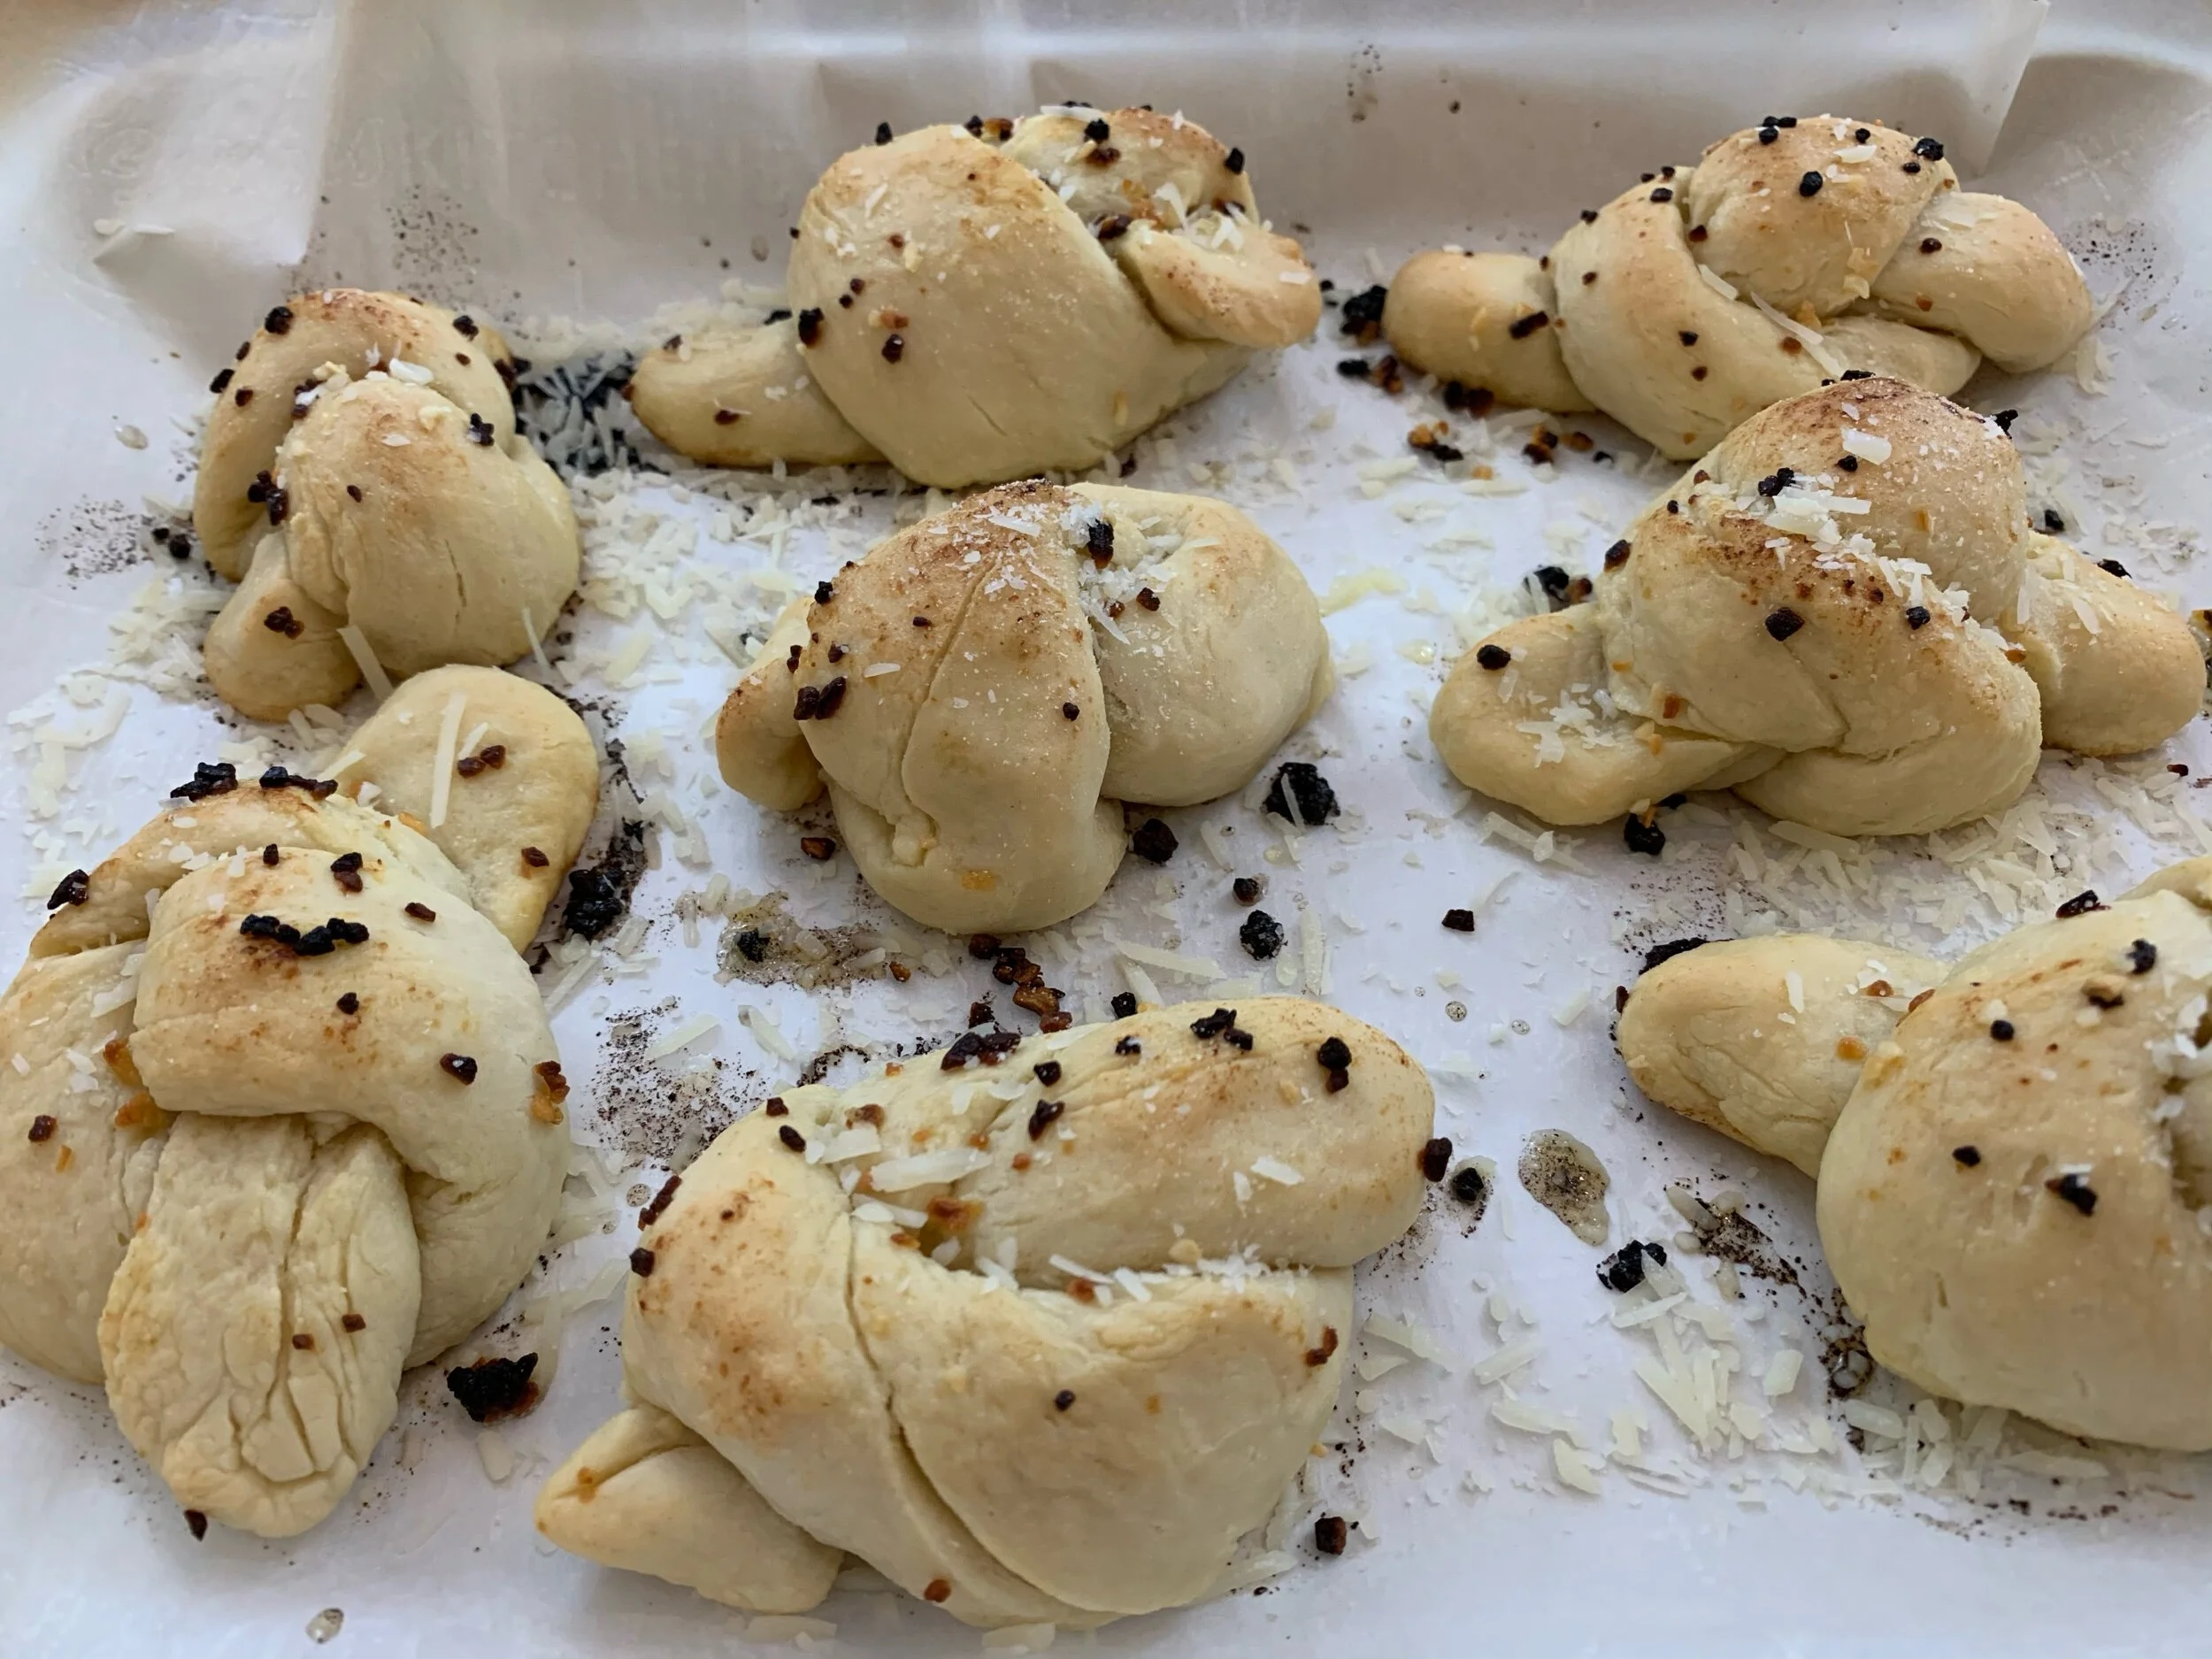
The piles of garlic made for a good roast garlic when baked
Preheat oven to 450 F
In a mixer bowl (if you’re lucky and have one, otherwise a normal large bowl) add the flour, sugar, yeast and salt
Whisk to combine
Add the olive oil and water and using a dough hook (on a mixer if you’re lucky) to knead (or hands if you gotta) knead until it’s forming together and malleable . (if too sticky add small amounts of more flour until not, if too dry, add more water)
Add to a lightly floured surface and fold into a ball. If using active dry yeast, add to a bowl with 2 tsp olive oil, cover and prove 90 minutes to double in size)
If not proving, or when done proving take your dough ball on the surface and have some fun poking and playing with it. When done, separate into two equal balls. Separate each of those four parts and those into two. You should end up with about sixteen dough sections. (if you didn’t use instant yeast, you’ll want to give it a ten minute rest after the first division)
Roll each section into a long rope (I used my hands rubbed together to do this) and then tie into a knot however you want it to look)
If you used active yeast, you’ll want to let the knots sit another half hour to rise, with my instant, this does nothing.
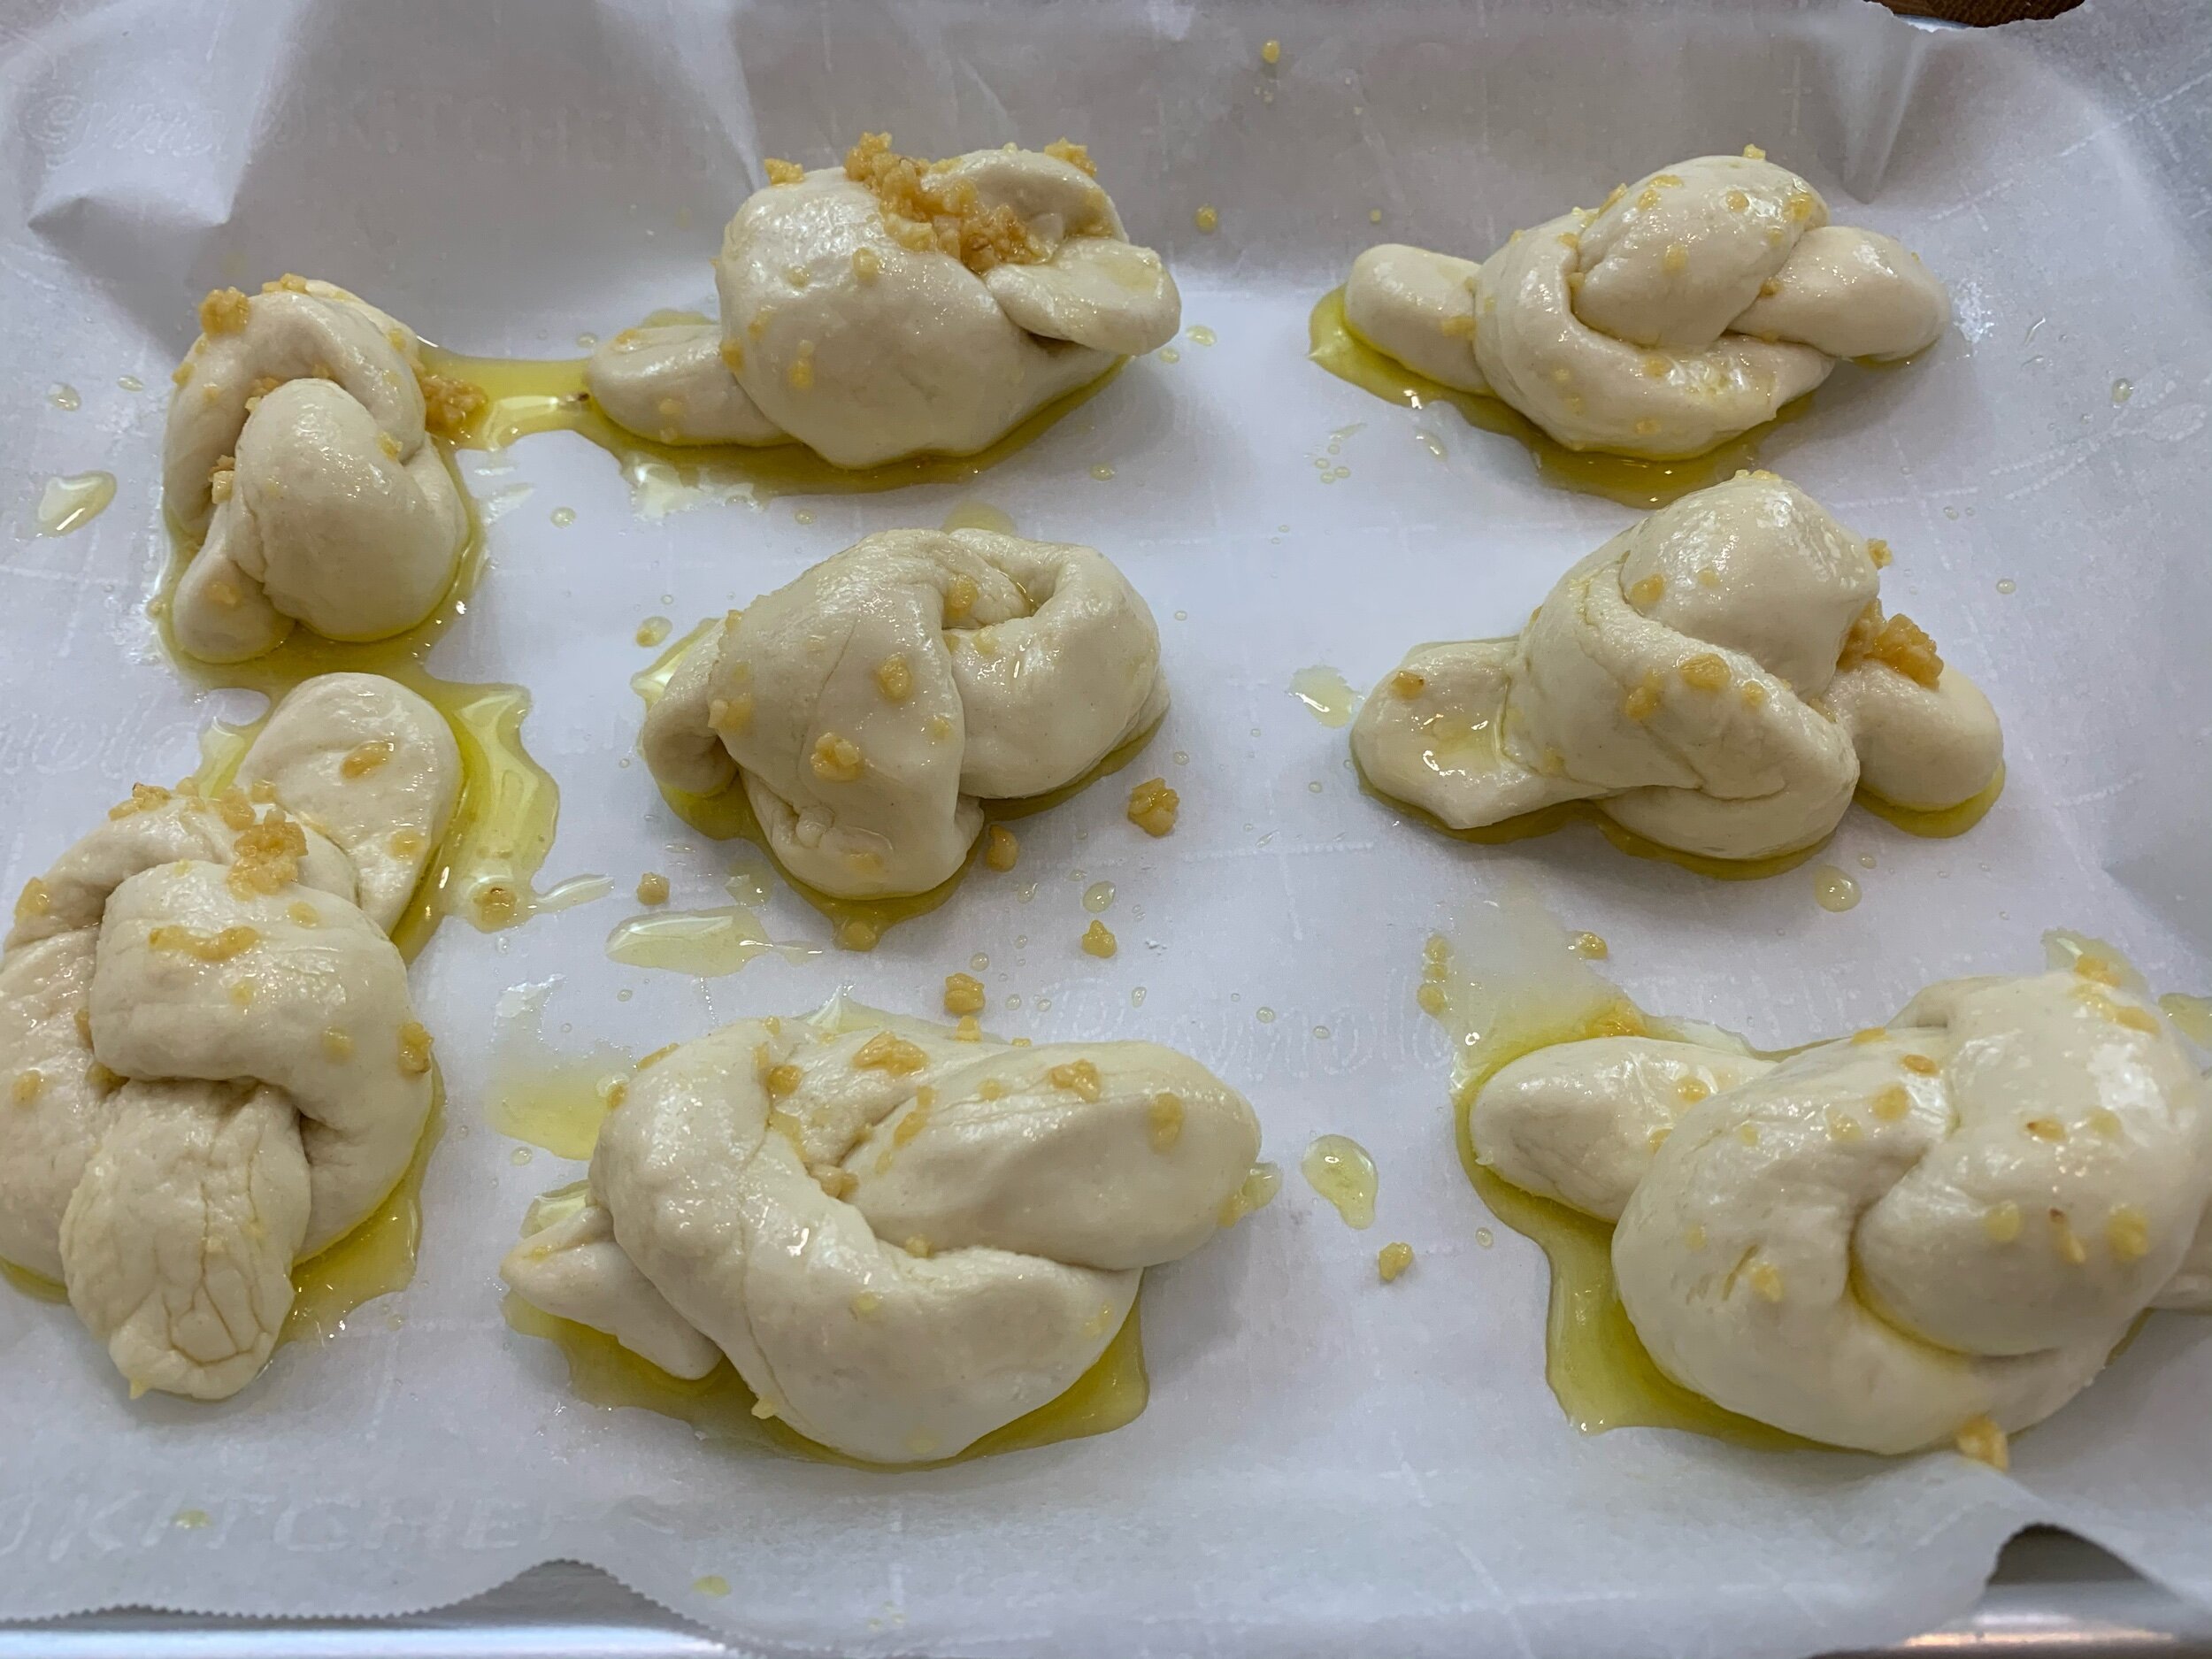
Add to a covered baking tray
Here you get a choice. You can either take about half the butter, add to a sauce pan and melt with half the garlic until fragrant and then brush this over the tops of the knots before baking. This will soak it into the knots and make almost a more garlic bread. You’ll do this again after to make a soft coat as well. Or you can just go ahead and bake now and put all the butter garlic on after.
Bake for 20 minutes or until browning (if you soaked in the butter, it should be darker, also the minced garlic burned and boy was it tasty)
Melt the (leftover) butter with the rest of the garlic and cover the knots while still warm
Add the cheese as desired
Afterthoughts

It’s great dipped in sauce and alone
I really loved these. They had crunchy outsides and soft insides. They reminded me kinda like a biscuit but without the flake. I loved the butter garlic taste and I’m glad I did the soak before and after baking. I’d have to redo the bake with bread flour to really learn the difference but it wasn’t so much bread or pizza dough like as it was more breadstick maybe. I really enjoyed it and it was super easy to make in the end. For one of my first doughs I’ve made, I’d call it a success and it’s definitely something anyone could do to complete their pasta or pizza nights.